


NOW, BEFORE WE BEGIN...
Please know that the project size and materials used are based on our own preferences. You can easily adapt our steps to create something that suits you and your tastes and/or skill level!
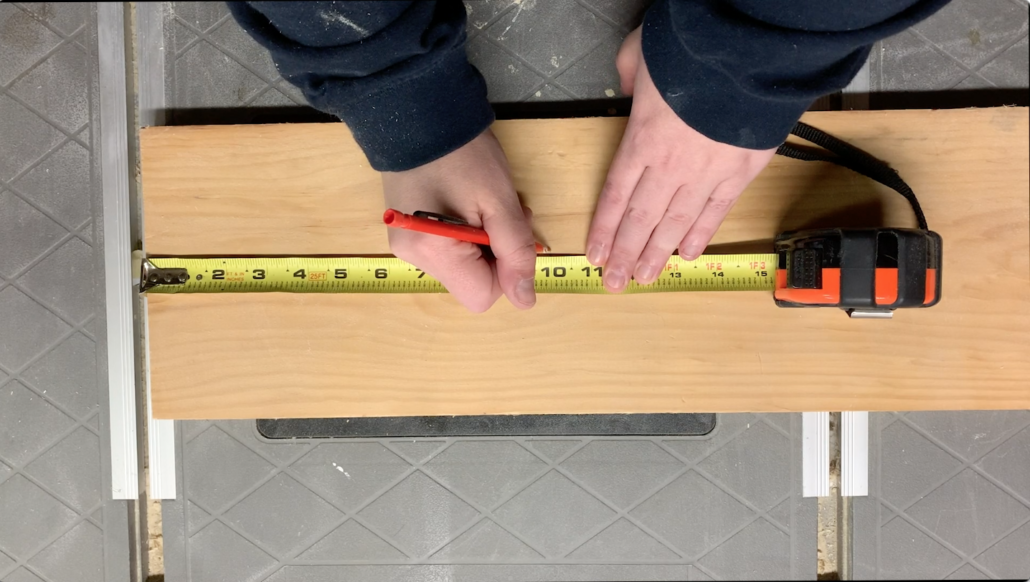
- STEP ONE
Using a 1×8 board (1″ thick, 8″ wide), measure and mark 10″ (length).
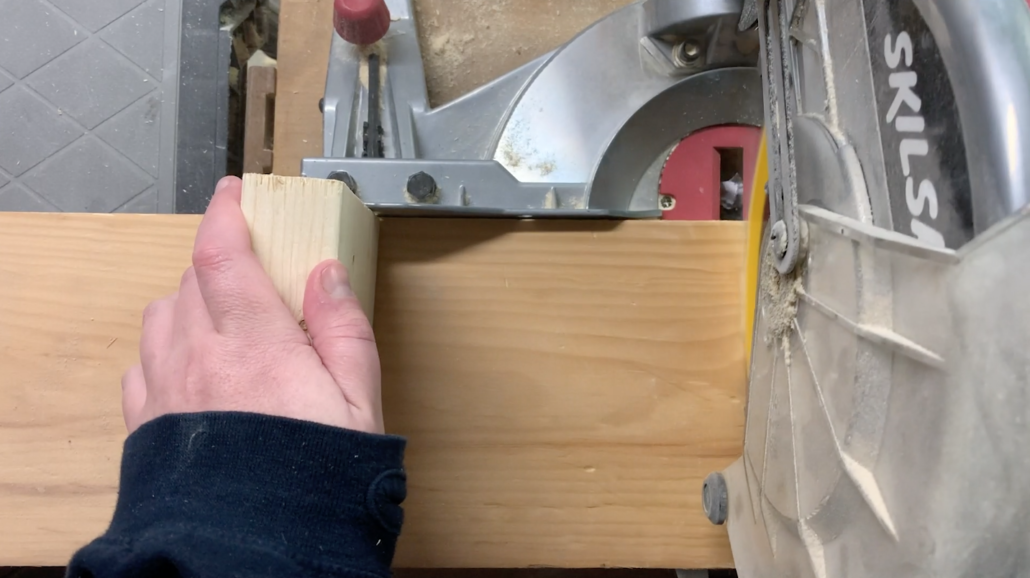
- STEP TWO
Cut the wood where you marked the 10″ line. This will give you your 1x8x10″ board.
(See TIPS in the sidebar for more info on this step)
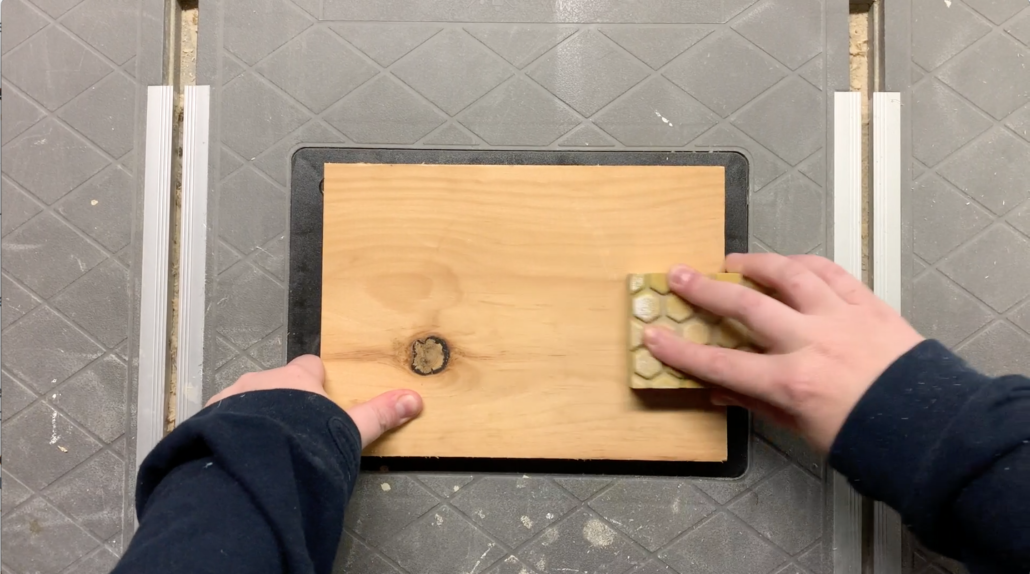
- STEP THREE
Now that you have your board, you can sand it down! You want it to be as smooth as possible – feel free to use a palm/orbital sander, sanding block, or sand paper on every side of the wood. You can even use these tools to soften the edges of the board as well.
- STEP FOUR
This step is a little advanced, so feel free to skip it if you need to.
Pick the corner of the board that you want to drill a hole into. Using a pencil, mark where the center of the hole will be, ensuring that there will be at least half an inch of wood left in between where the hole is cut and the edge of the board. This is important! If you make the hole too close to either edge of the board, the remaining wood is too thin and will break.
Before you start drilling, place painters tape over where the hole will be cut, on both sides of the board. The tape will help prevent breakage around the hole as you drill. Then, place a piece of scrap wood under your board to ‘catch’ the drill as it pushes thru the bottom, thereby protecting whatever surface you’re working on. Clamp or hold down on your board and start drilling.

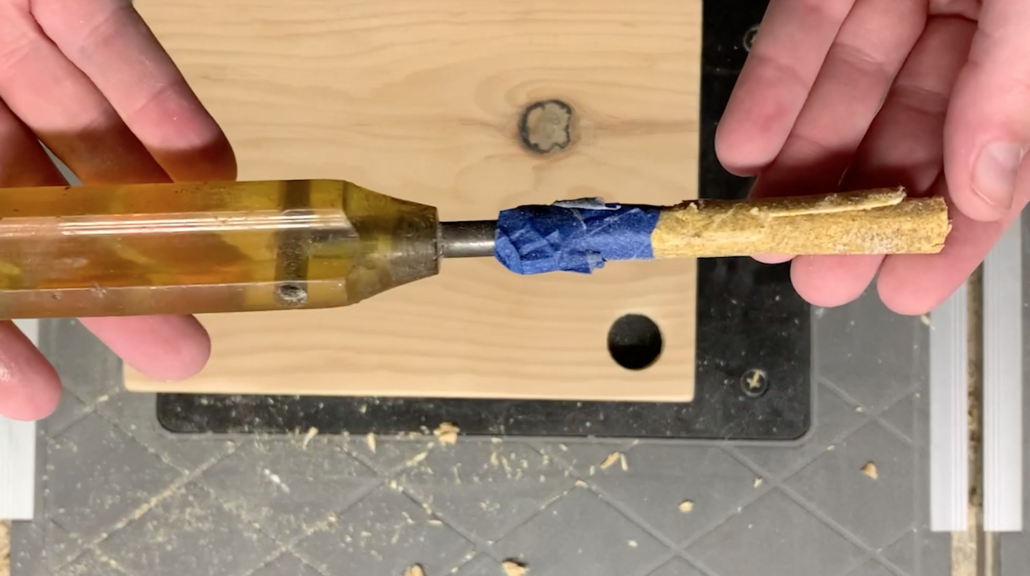
- STEP FIVE
Sand down the area around the hole you just cut. If you don’t have a drum sander that will fit in the hole, try wrapping a spare piece of sandpaper around a screwdriver and using that to sand the opening you made.
- STEP SIX
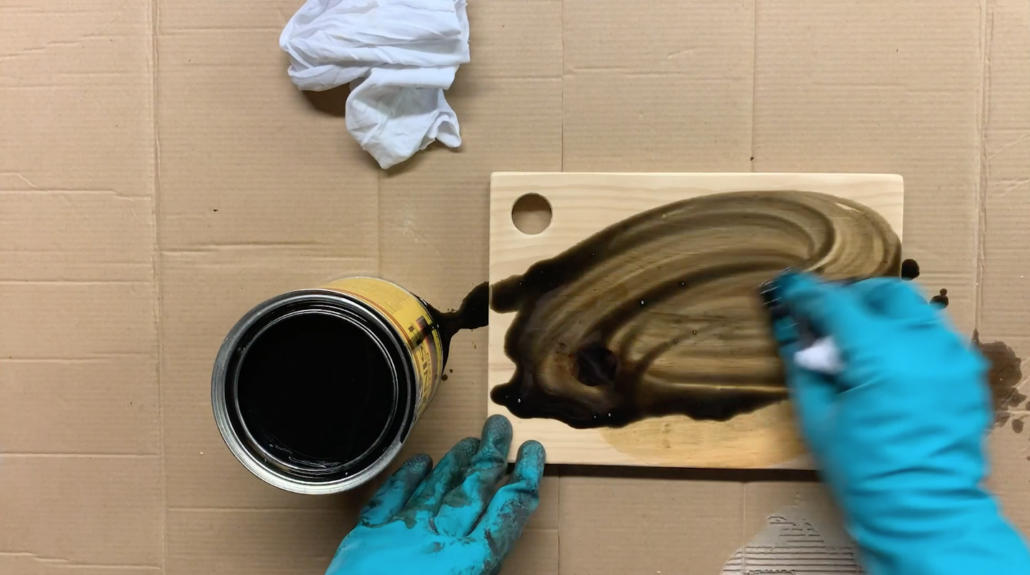
Take a clean cloth and wipe all debris and sawdust from your charcuterie board. Next, put down a piece of cardboard or plastic to protect your table from wood stain; you’ll want to wear gloves for this part too!
Using either a brush or rag, apply your choice of wood stain to your board. Make sure you’re wiping it on in the direction of the wood and following the directions on the container.
Using a new rag, wipe off excess stain (again, following directions on the container).
- STEP SEVEN
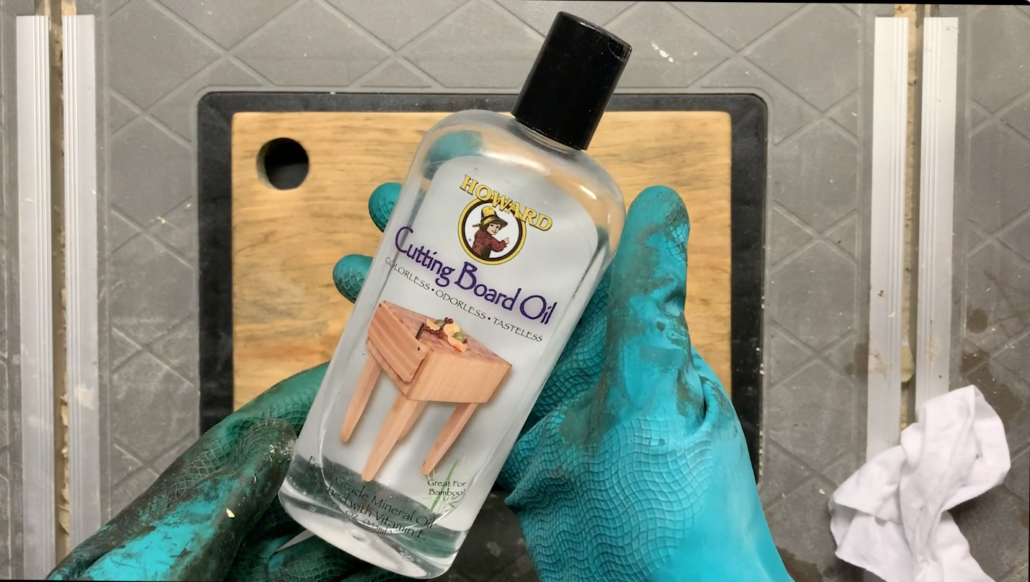
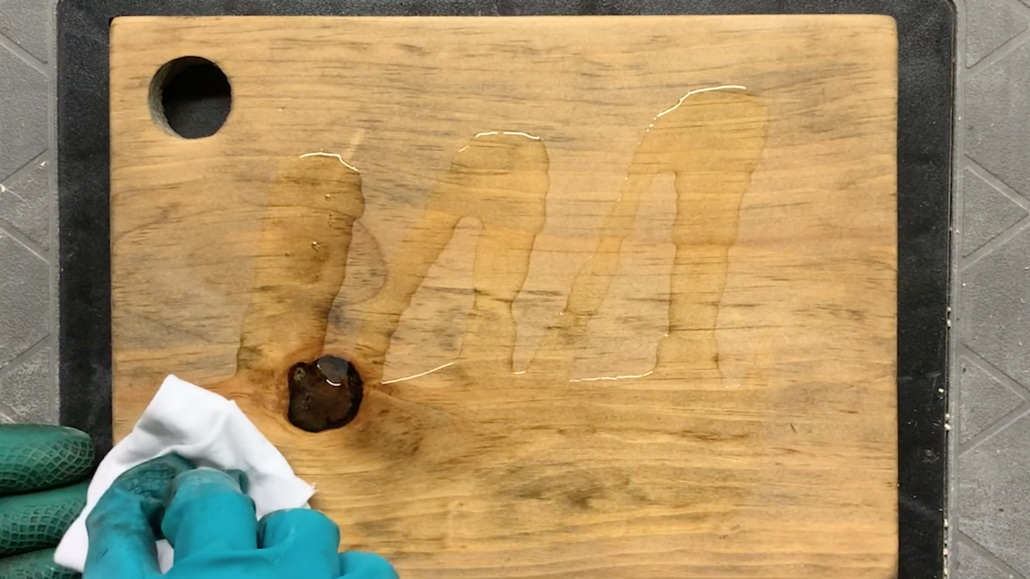
Once your board has finished drying and you are happy with the stain, put your gloves back on and grab a new rag or brush.
There are several types of sealants available (see TIPS), but since your food will have direct contact with this board, you want to ensure that what you choose is FOOD SAFE.
Follow the directions on the bottle to apply the protective finish.
- STEP EIGHT
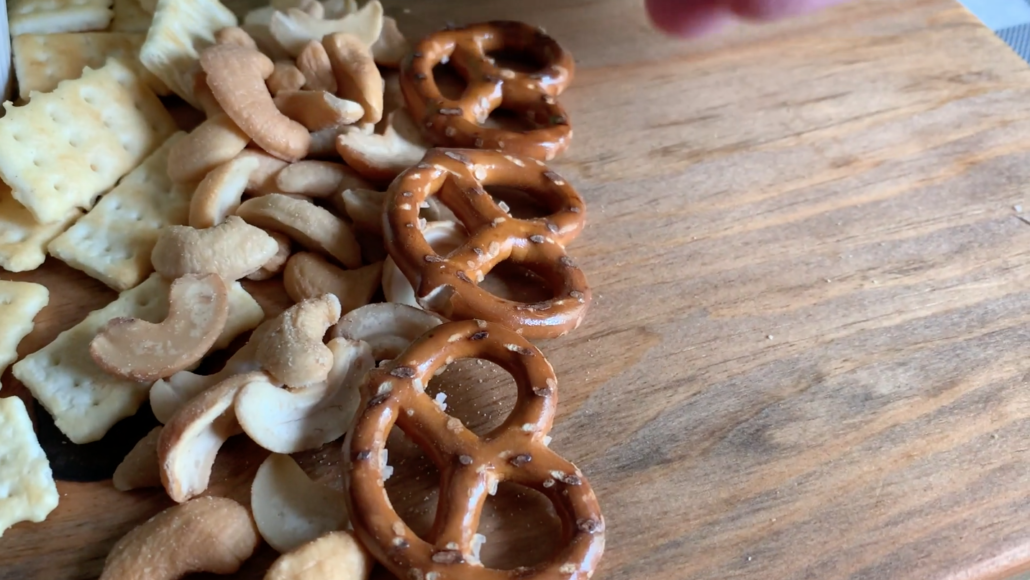
Once your project has completely dried, you can begin using it!
- PROGRAM IDEA
If you’re part of a group making these boards, consider how you can use them together in the future! Perhaps a charcuterie board themed party, where everyone is challenged to be creative in what they put on their board and how it’s presented. Set the boards out at your event and let everyone walk around and view them and then EAT!
- THEME IDEA
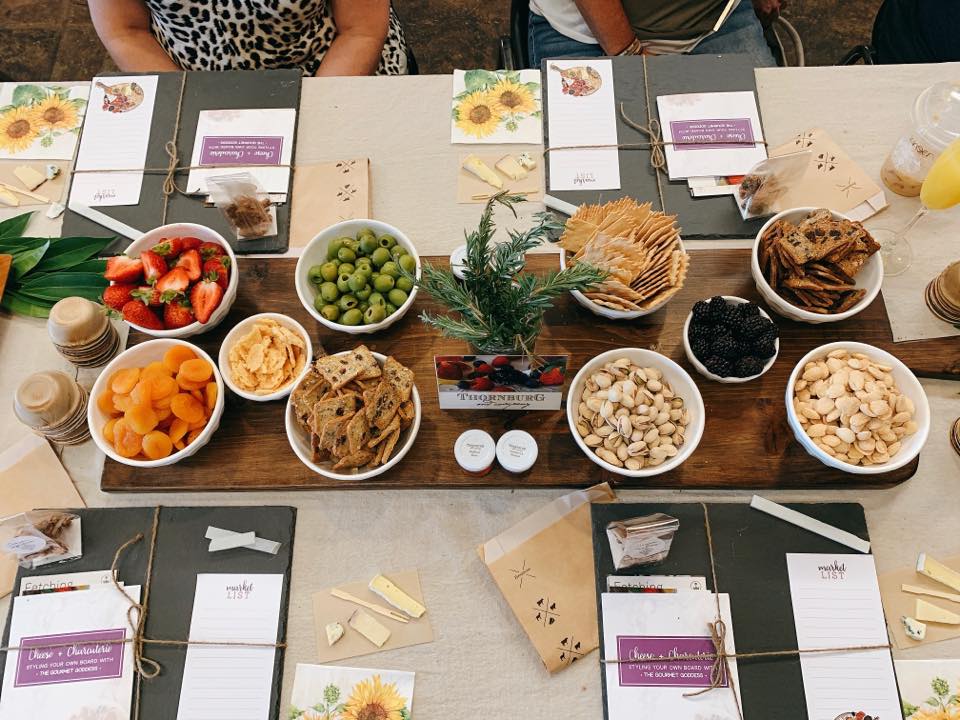
GO CRAZY! Use this as a cheese board (cheese, crackers, nuts), make a ‘date night’ board for you and your spouse to share, or a girls night in board with all the things and calories you’ll never admit to indulging in!

Leave a Reply
Want to join the discussion?Feel free to contribute!